How to define a reusable set of files as a library.
A Library is a named, reusable set of files. Libraries are attached to classes and then used to quickly deploy files to participant labs and Student Classroom pages. A library is a good way to include required software installation or configuration files that a lab participant (an instructor or student) might need during the class. A library is also a good way to distribute class content like presentations, exercise instructions, and exercise samples.
Create a new Library
Open the Libraries List
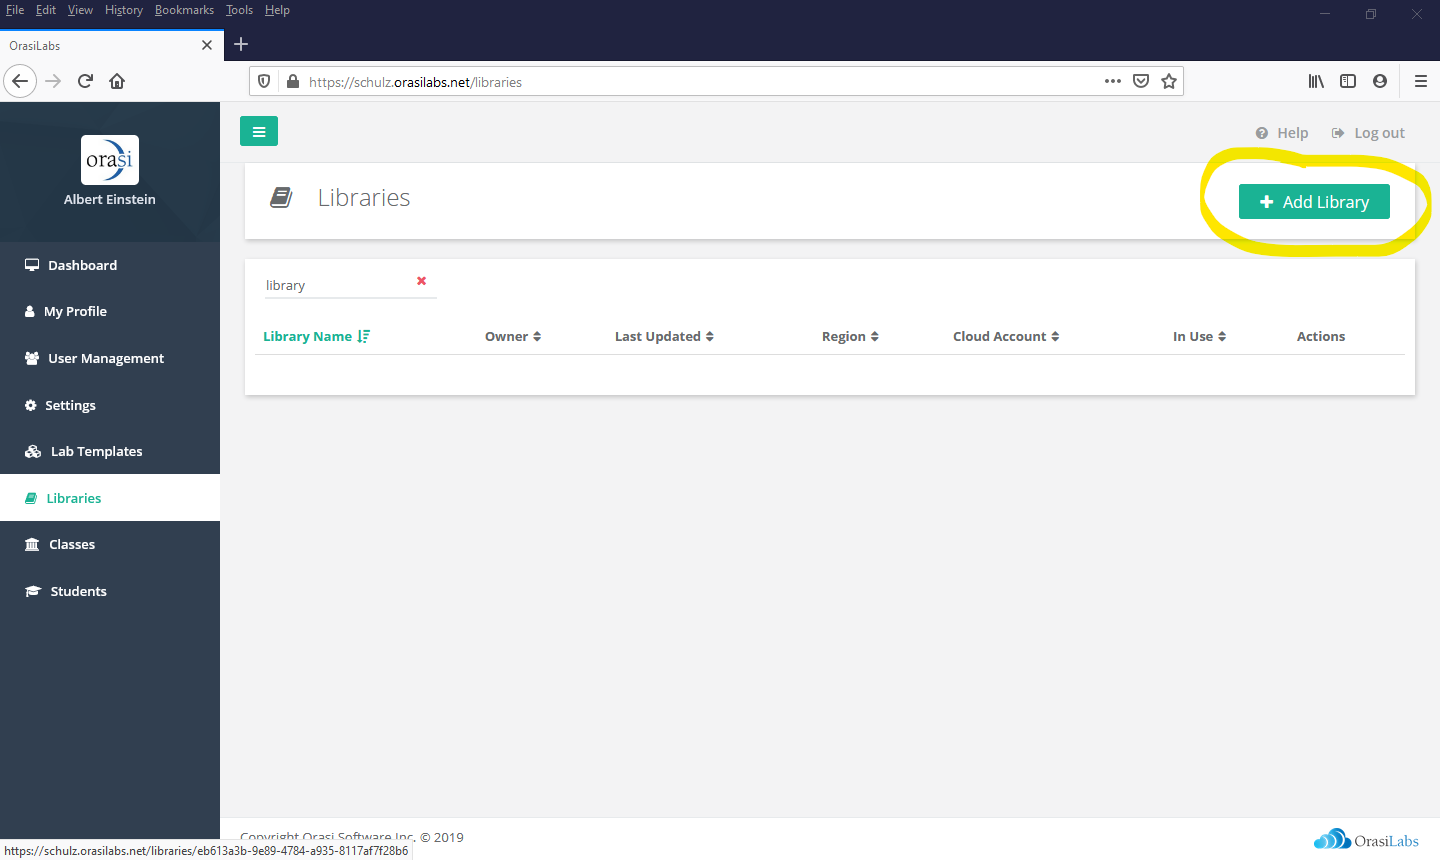
Navigate to the Libraries list to view or modify existing libraries. That's also where you go to create new ones.
To create a new library, select +Add Library to open the Library Details.
Enter Basic Library Information

Use Library Details to enter the basic descriptive information, including the library name, the library description, and the cloud region in which the library will be stored. Library names must be unique within the OrasiLabs tenant in which you're working.
Select Save Changes to open the Library Content Editor.
Add Files to the Library

To add new files into the library, drag file objects from any location supported by the operating system (for example, Windows File Explorer) into the central drag target of the Library Content Editor. The file will be associated to the library and will be uploaded to the cloud account. During upload, a horizontal progress meter in the file's thumbnail shows completion status. After the file is successfully uploaded, a checkmark will appear on the file's thumbnail.
Initial upload times will vary based on your network speed and the file size. Keep in mind that, once uploaded, deploying the library to labs within the same cloud region will happen without any noticeable upload delay.
The central drag target is a clickable object. So, you can also add new files to the library by selecting the drag target itself. From the file browser window, then, you can navigate to and select any file available. You can also use this method to multi-select files and add more than one file in a single operation. The same upload and progress behavior as described above applies.
A library can contain any number of files. However, an individual file within a library cannot exceed 5GB in size.
Remove Files from a Library
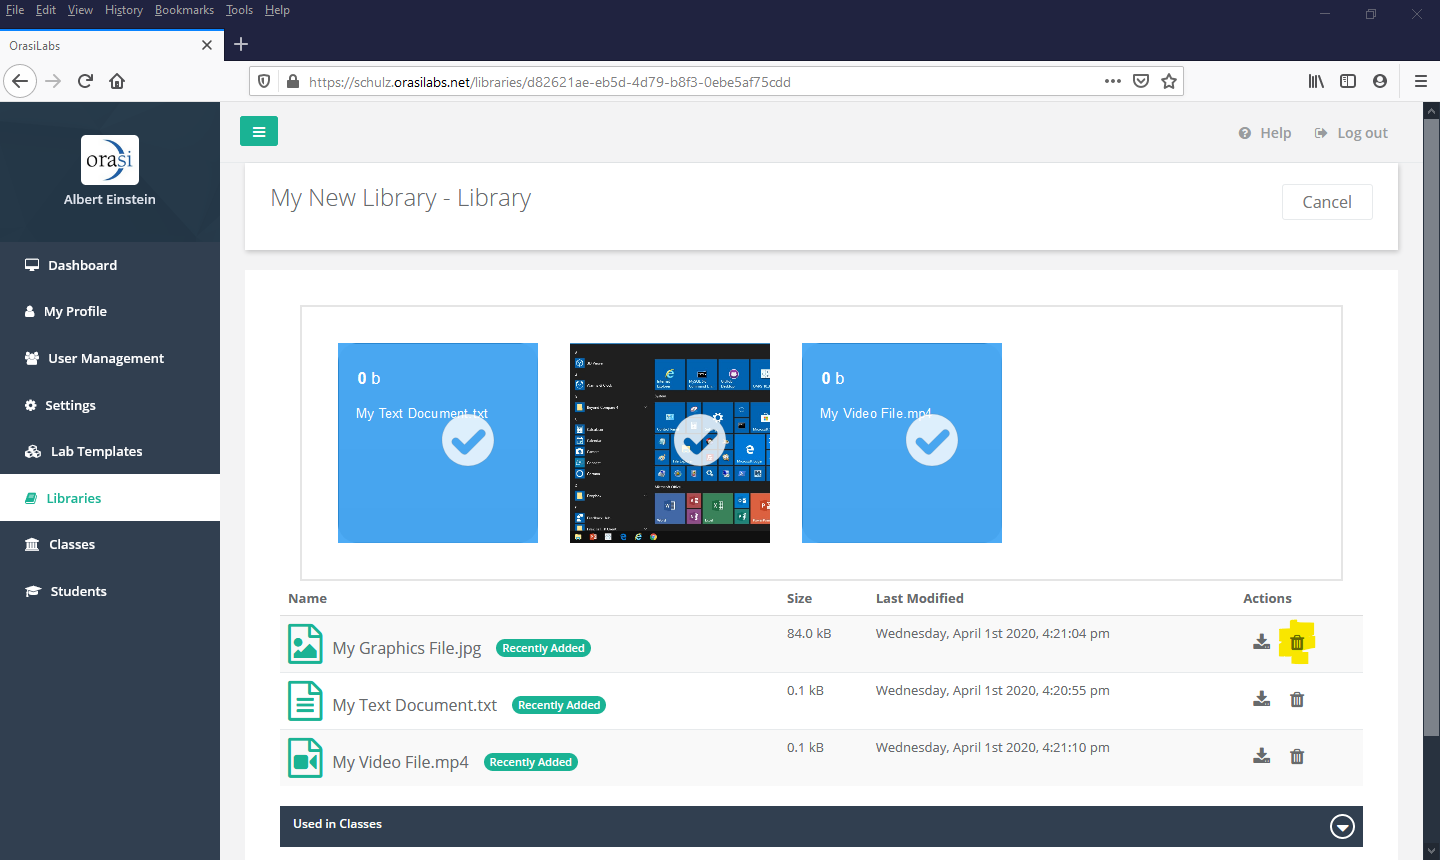
To remove a file that was previously added to the library, select Delete (represented by the trash can icon) next to the file you wish to delete. The file will immediately be removed from the library definition.
NOTE: Removing a file from a library does not remove the file from any participant labs or student classrooms. Removing files from participant labs and student classrooms must be done from the Libraries section of the Class Delivery page.

Congratulations! You've just created a new library. You can now associate this library to classes so that it can be deployed into participant lab environments and Student Classroom pages.
Where to go from here...
Was this article helpful?
That’s Great!
Thank you for your feedback
Sorry! We couldn't be helpful
Thank you for your feedback
Feedback sent
We appreciate your effort and will try to fix the article